Course Tools
Windows users, before starting to go over the list, see the Windows Subsystem for Linux section.
List of tools
The web applications in this course will be implemented using JavaScript and Deno. Deno is a runtime for running JavaScript (and TypeScript) applications, including web applications.
To get started, you need:
-
Deno is the runtime that we use for running web applications. For instructions on installing Deno, click here.
-
VSCode is the code editor that we recommend, but you may use any editor intended for writing code. Click here for VSCode download site. There’s also a Deno extension for VSCode.
-
A browser with up-to-date JavaScript support like Google Chrome, Brave, or Mozilla Firefox.
-
Docker and Docker Compose are tools for containerization. We’ll use them when working on applications that consist of multiple services. As an alternative to Docker, you may also use Podman.
In addition, access to a terminal (command line) on your local computer is a must. VSCode comes with a terminal window, which we suggest using. For terminal basics, visit the VSCode Terminal Basics site.
As the course progresses, we will also start using additional tools.
-
Deno’s deployctl tool. We’ll use this tool to deploy applications to the web. With Deno, the tool is installed with the command
deno install -Arf jsr:@deno/deployctl. -
Git is a version control system. We’ll be demonstrating it’s use with GitHub at a later stage when looking into continuous deployment and delivery.
-
PostgreSQL is a database system that we’ll use in the course. We’ll be running the database in a container, so there’s no explicit need for installing PostgreSQL. However, accessing the database through
psqlor similar is beneficial, as it can help understand the table structure. Hence, having PostgreSQL installed on your computer is beneficial.
Command line tutorials
In these materials, you will see plenty of examples where things are tried out on the command line (or, in other words, in the terminal). As an example, web applications will be launched from the command line — thus, some skills on working with the command line are needed for this course. If you are not familiar with the command line, see the links relevant to your operating system from the following list.
- Ubuntu Linux command line for beginners.
- MacOS how to open terminal and how to use the terminal command line in macOS.
- Windows terminal tutorial.
Windows Subsystem for Linux
For Windows, we strongly recommend installing Windows Subsystem for Linux (WSL) and working on the course assignments through WSL. The following Microsoft tutorial outlines how to install Windows Subsystem for Linux and how to install a Linux distribution. As a Linux distribution, we recommend choosing Ubuntu, which is also the default option in the tutorial.
With Windows Subsystem for Linux installed, you can continue adding software. First, install the editor, VSCode.
- VSCode download page and Deno extension for VSCode. Note that VSCode also has a terminal window that you can use.
Then, after installing VSCode, install Docker Desktop for Windows.
- Docker Desktop for Windows. In addition to the download link, the page has guidelines for enabling Docker support in WSL2. Follow the guidelines.
Then, add the Remote-WSL extension to VSCode.
- Remote-WSL. Remote-WSL allows fast access to WSL in VSCode, making your life easier. The link also shows a brief guideline on working with WSL in VSCode. For additional guidelines, check out the following WSL tutorial.
Now, you can install Deno (on WSL side). At least in the past, VSCode tends to forget the path for Deno whenever the terminal is restarted. To fix this, install Deno with the following command (basically, the command adds an environmental variable that the provides the Deno installation path):
curl -fsSL https://deno.land/x/install/install.sh | sudo DENO_INSTALL=/usr/local shWith WSL installed and Deno on WSL, you should be able to start Deno on the terminal by writing deno. Existing the program is done by pressing Ctrl + c. Check out also the other tools from the beginning of this page.
When working with WSL, always store the web application development -related source codes and projects on the Linux file system. The location of the Linux file system can be found by opening explorer and typing the path \\wsl$.
For additional details, see Working across Windows and Linux file systems
Developer console
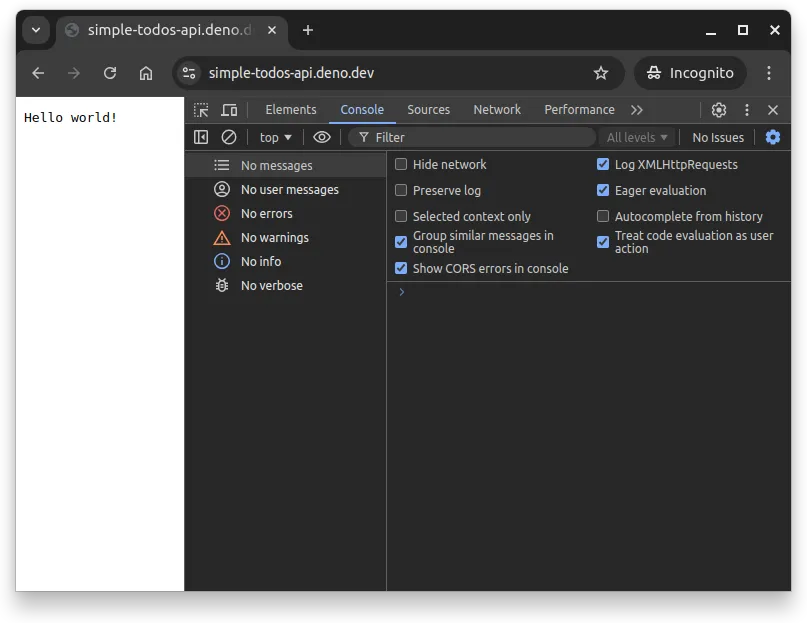
When trying out the examples, try them out in the developer console of your browser. You can open the developer tools by pressing F12 or Ctrl+Shift+I in most browsers, after which you can navigate to the console tab. Figure 1 shows an open developer console in the browser. So far, in Figure 1, nothing has been written to the console.

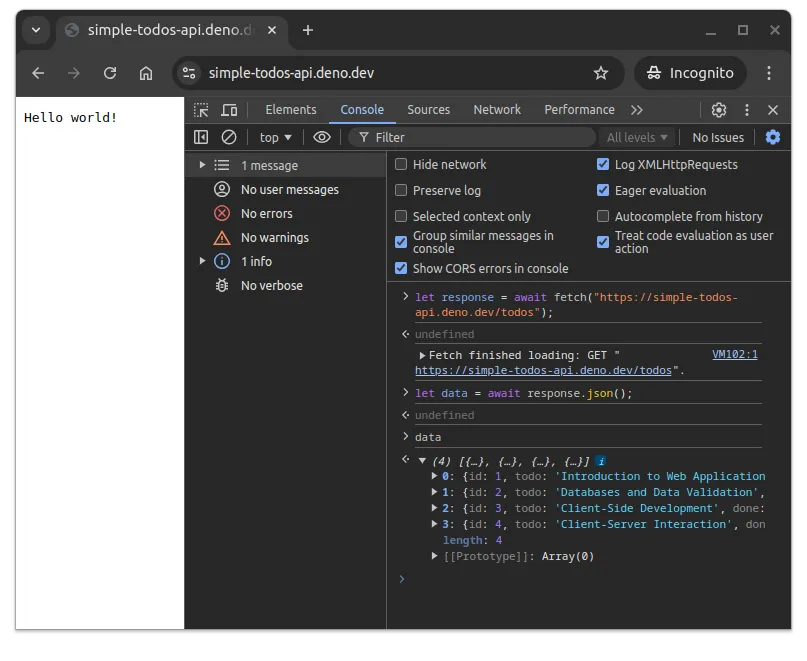
In Figure 2, the same developer console is opened. This time, three commands have been written to the console, each to their own line. The first two commands are JavaScript statements, while the third command simply states a name of a variable. When typing the name of a variable to the console and pressing enter, the value of the variable is shown in the console. As content of the variable is a list, the contents of the list can be accessed by clicking the small triangle next to the variable name.

The developer console that comes with browsers is one of the most important tools when working with web applications. It allows inspecting the content of the page, executing JavaScript code, and viewing errors and debug statements that occur on the page; as an example, if you have a console.log command in your client-side code, the output is shown in the console.