Deploying Server-Side Applications
Learning Objectives
- You know how to deploy a server-side application to an online location.
So far, we’ve worked on the web applications on our local machines. Let’s change that, and look into deploying an application to an online location with Deno Deploy. Deno Deploy is a platform for hosting web applications.
Here, we outline the steps required to deploy a simple server-side application to Deno Deploy. The application will respond with “Hello World!” to requests made to its root URL. The course does not expect that you deploy an application yourself.
Accounts and tooling
To start using Deno Deploy, you need to sign up for an account. The sign-up process is straightforward, and requires a GitHub account.
- Create a GitHub account at https://github.com/.
- Create a Deno Deploy account at https://console.deno.com/.
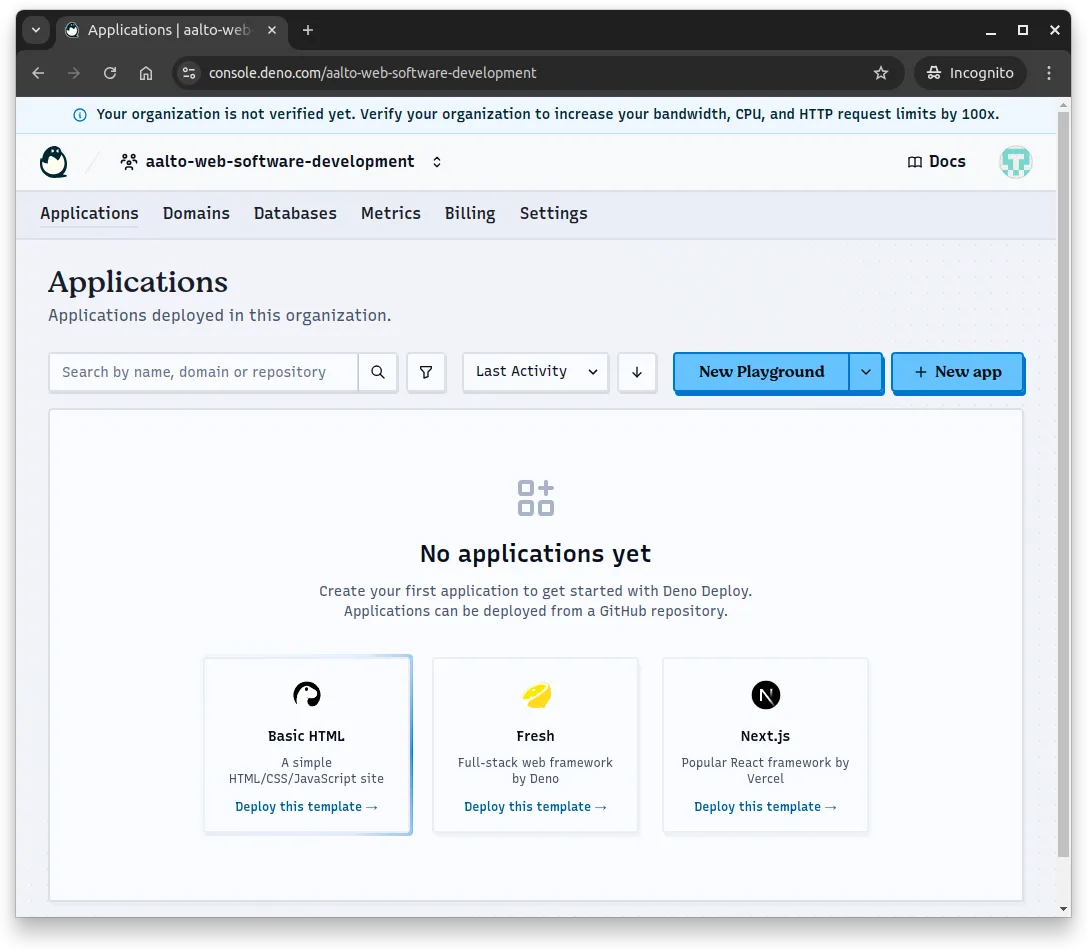
When you have an account, create a new organization. In our case, we use the name aalto-web-software-development.
Once the organization has been created, you’ll see a page similar to the one in Figure 1 below. There are no applications in the organization yet.
Creating a project
To deploy a project, let’s first create it. Create a new folder and add three files to it, app.js, app-run.js, and deno.json.
- The
app.jsfile will contain the application code and export the application. - The
app-run.jsfile will be used to run the application.
Save the following code to app.js.
import { Hono } from "@hono/hono";import { cors } from "@hono/hono/cors";
const app = new Hono();app.use("/*", cors());
app.get("/", (c) => c.text("Hello World!"));
export default app;
The following code to app-run.js.
import app from "./app.js";
Deno.serve(app.fetch);
And the following content to deno.json.
{ "imports": { "@hono/hono": "jsr:@hono/hono@4.8.12" }}You can test running the application using deno run --allow-net --watch app-run.js.
Now, when we run the command curl localhost:8000, we see the response Hello World!.
curl localhost:8000Hello World!Deploying the project
To deploy the application, go to the folder with the files and run the command deno deploy create. The command starts the deployment process, first opening up a browser and asking which organization the application should be deployed into. When you select an organization, you are prompted for the name for the application and other information.
We’ll choose “hello-world” as the application name, keeping all other values as default.
Once set, press the “Create App” button.
This starts the deployment process. After a while, when you refresh the page, you see information about the deployed project. The page can look, depending on your choices, similar to the one in Figure 2 below.
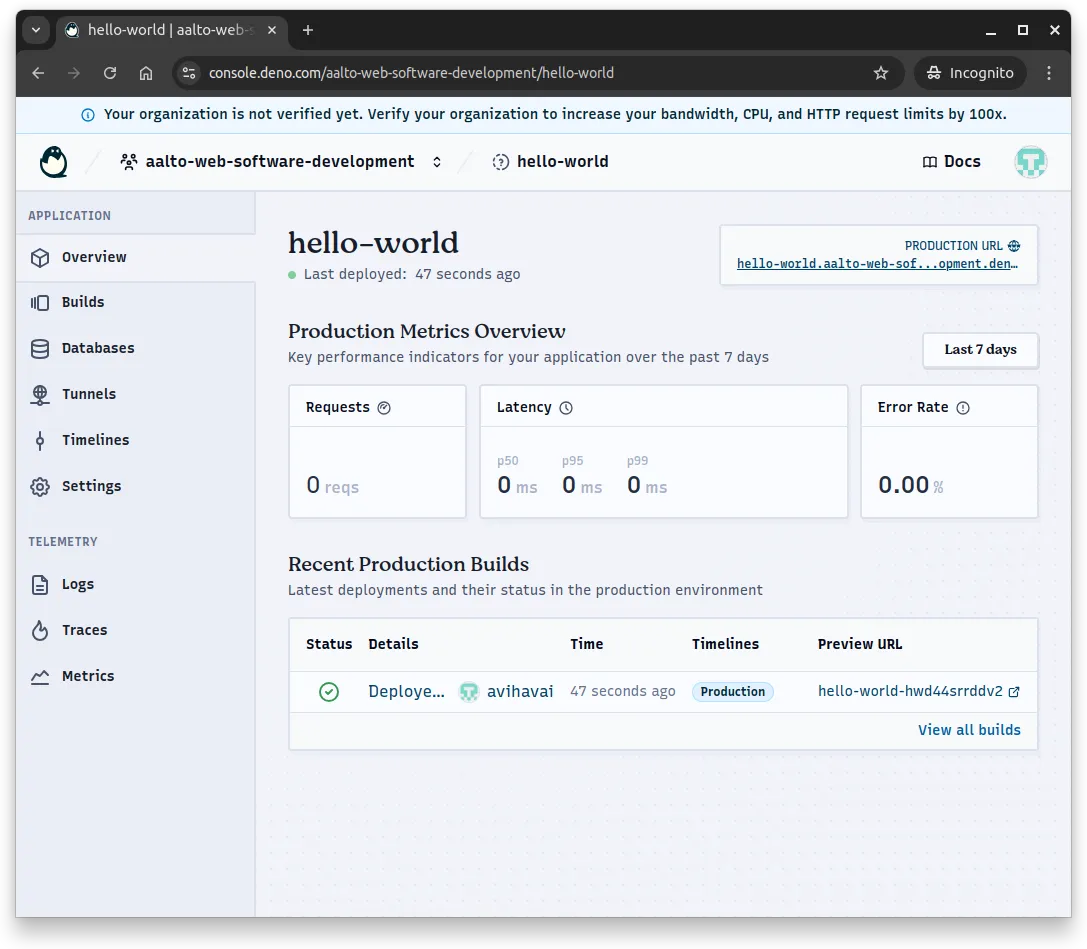
Now, when we curl the address https://hello-world.aalto-web-software-development.deno.net, we see that it responds to our request.
$ curl https://hello-world.aalto-web-software-development.deno.netHello World!%See how the organization name and the deployment name are both visible in the address. The deployment name is the first part —
hello-world, while the organization name is the second part —aalto-web-software-development. Thedeno.netis the home for all applications deployed with Deno Deploy (it is possible to use a separate domain though).
Updating the deployment
Updating the deployment is straightforward. Modify the file app.js to match the following, i.e. so that the response is a JSON document with a message instead of the text message.
import { Hono } from "@hono/hono";import { cors } from "@hono/hono/cors";
const app = new Hono();app.use("/*", cors());
app.get("/", (c) => c.json({ message: "Hello World!" }));
export default app;
Once you’ve saved the file, run the command deno deploy --prod in the folder that contains the application.
$ deno deploy --prodPublishing ...✔ Generated hashesYou can view your application overview here:  https://console.deno.com/aalto-web-software-development/hello-worldYou can view the revision here:  https://console.deno.com/aalto-web-software-development/hello-world/builds/v9vj6w1j511r
...
✔ Successfully deployed your application!Production url:  https://hello-world.aalto-web-software-development.deno.netPreview url:  https://hello-world-v9vj6w1j511r.aalto-web-software-development.deno.net
Now, the application has been updated.
$ curl https://hello-world.aalto-web-software-development.deno.net{"message":"Hello World!"}%If you omit the --prod flag from the deno deploy command, you will create a preview deployment. Preview deployments are deployed to a preview url, but not to the production url. This allows testing the application in production-like environment, without replacing the production version.
Here, we walked through deploying the application from the command line. It is also possible to add the application to a GitHub repository, and link the repository to Deno Deploy.
Summary
In summary:
- Deploying an application to an online location is a natural step in the development of a web application. Here, we used Deno Deploy for deploying the application.
- Getting started requires a GitHub account and a Deno Deploy account at console.deno.com, where you create an organization to manage your deployments.
- The
deno deploy createcommand initiates deployment by opening a browser to select an organization and configure the application name and settings. - Deployed applications are accessible at URLs following the pattern
{app-name}.{organization-name}.deno.net. - Updating a deployment is done with
deno deploy --prod, which publishes changes to the production URL. - Preview deployments can be created by omitting the
--prodflag, allowing testing in a production-like environment without replacing the live version.
- The