Deploying Client-Side Applications
Learning Objectives
- You know how to deploy a Svelte application as a static site.
Here, we briefly look into how to deploy a client-side application. Like before, we use Deno Deploy as the deployment platform.
For the purposes of this chapter, and to avoid any debugging that stems from existing client-side functionality, create a new Svelte project following the Svelte Client-Side Application part of the walking skeleton.
Create the new Svelte project in a separate folder from the walking skeleton, e.g. in a folder called
svelte-deployment-test, to avoid any interference with the existing walking skeleton project.
Adding a node adapter
First, in the newly created Svelte project, modify the package.json file to include the dependency @deno/svelte-adapter": "^0.1.0, and update the vite version to at least 6.0.0. The dependencies go to the “devDependencies” area, e.g. as follows.
//... "devDependencies": { "@deno/svelte-adapter": "^0.1.0", "@sveltejs/adapter-auto": "^3.0.0", "@sveltejs/kit": "^2.0.0", "svelte": "^5.0.0", "vite": "^6.0.0" }// ...Then, modify the svelte.config.js file to import the @deno/svelte-adapter adapter.
import adapter from "@deno/svelte-adapter";
/** @type {import('@sveltejs/kit').Config} */const config = {  kit: {    adapter: adapter(),  },};
export default config;
Retrieving data from an API
Then, modify the +page.svelte to retrieve data from the API that we deployed in the previous chapter. For that, modify the +page.svelte file to match the following:
<script>  let message = $state("");
  const fetchMessage = async () => {    const response = await fetch("https://hello-world.aalto-web-software-development.deno.net/");    const data = await response.json();    message = data.message;  }</script>
<h1>Deployment demo!</h1>
<p>Message from server: {message}</p>
<button onclick={fetchMessage}>Fetch Message</button>
Deploying the application
Now, to deploy the application, let’s create a separate deployment using deno deploy. Run the command deno deploy create in the Svelte project folder.
The deployment opens up a browser window, asking which organization to deploy the application into. Use the organization that you created earlier — in our case, we use aalto-web-software-development. Then, select a suitable name for the application. We’ll use hello-client.
Then, press the “Create App” button. Deno deploy determines the project configuration from the project files, and starts the deployment process. Once the deployment is done, the application is available online.
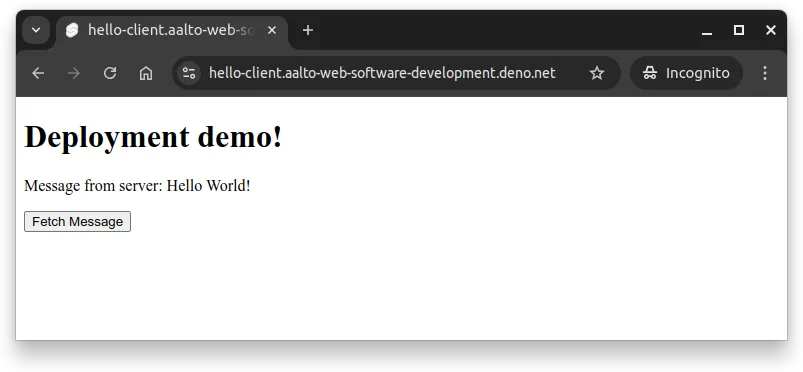
When you open up the address https://hello-client.aalto-web-software-development.deno.net/ in a browser and press the “Fetch Message” button, you should see the message retrieved from the server-side application, as shown in Figure 1 below.
Environmental variables
Similar to the server-side application, you can add environmental variables to the client-side application as well. For that, navigate to the settings of the deployed application in Deno Deploy, and add the environmental variables as needed.
In our case, we could add an environmental variable PUBLIC_API_URL with the value https://hello-world.aalto-web-software-development.deno.net/, and then modify the +page.svelte file to use the environmental variable as follows.
<script>  import { PUBLIC_API_URL } from '$env/static/public';
  let message = $state("");
  const fetchMessage = async () => {    const response = await fetch(PUBLIC_API_URL);    const data = await response.json();    message = data.message;  }</script>
<h1>Deployment demo!</h1>
<p>Message from server: {message}</p>
<button onclick={fetchMessage}>Fetch Message</button>
Now, when the application is deployed again, it uses the environmental variable to determine the API URL.
Summary
In summary:
- Client-side Svelte applications can be deployed to Deno Deploy as static sites using the
@deno/svelte-adapterpackage.- Deployment requires adding
@deno/svelte-adapter": "^0.1.0"to devDependencies and updating vite to at least version 6.0.0 in package.json. - The svelte.config.js file must be modified to import and use the Deno adapter instead of the default adapter.
- Deployment requires adding
- Environment variables for client-side applications are added through the Deno Deploy dashboard settings and accessed in Svelte using
$env/static/publicfor public variables (prefixed withPUBLIC_). - After adding or modifying environment variables, the application must be redeployed for changes to take effect.